- Blog/
Making a Parking Game in Godot: Introduction
Table of Contents
Godot Parking Game - This article is part of a series.
Introduction #
I want to make a nice little parking game, nothing too fancy and I’m going to document it. Why? When I was a teenager, flash games were absolutely at their peak, a bit before Apple triggered its downfall starting 2010. There were these parking games that were pretty prevalent at the time that I really enjoyed. For example…you can find, I think, literally thousands more examples with ease.
I made a couple other knock-off games when I was ~14/15 with Flash - they’re still knocking around:
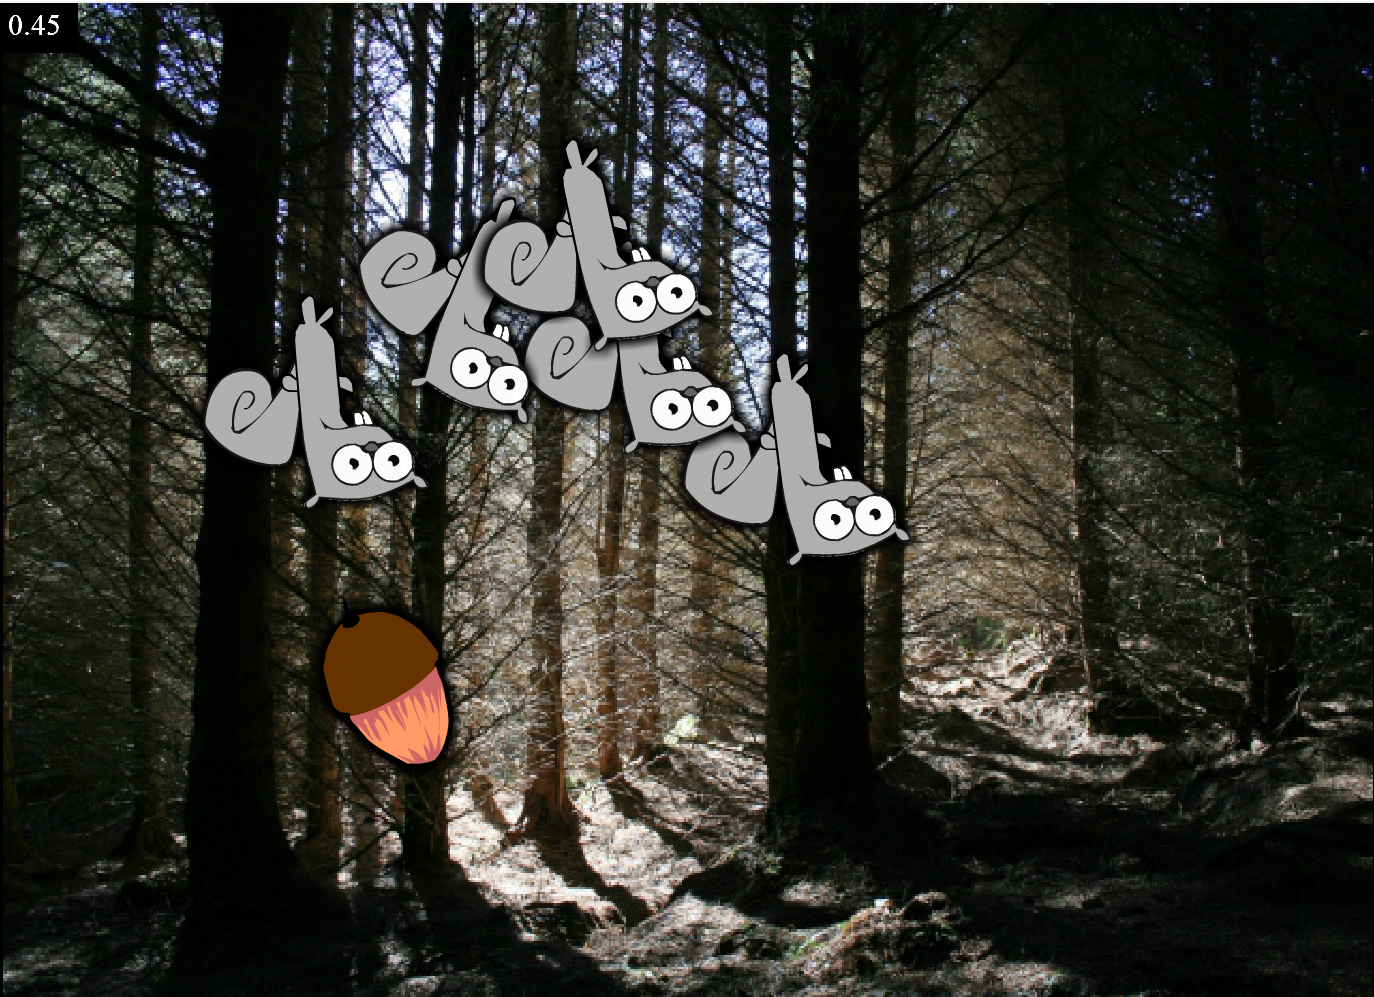
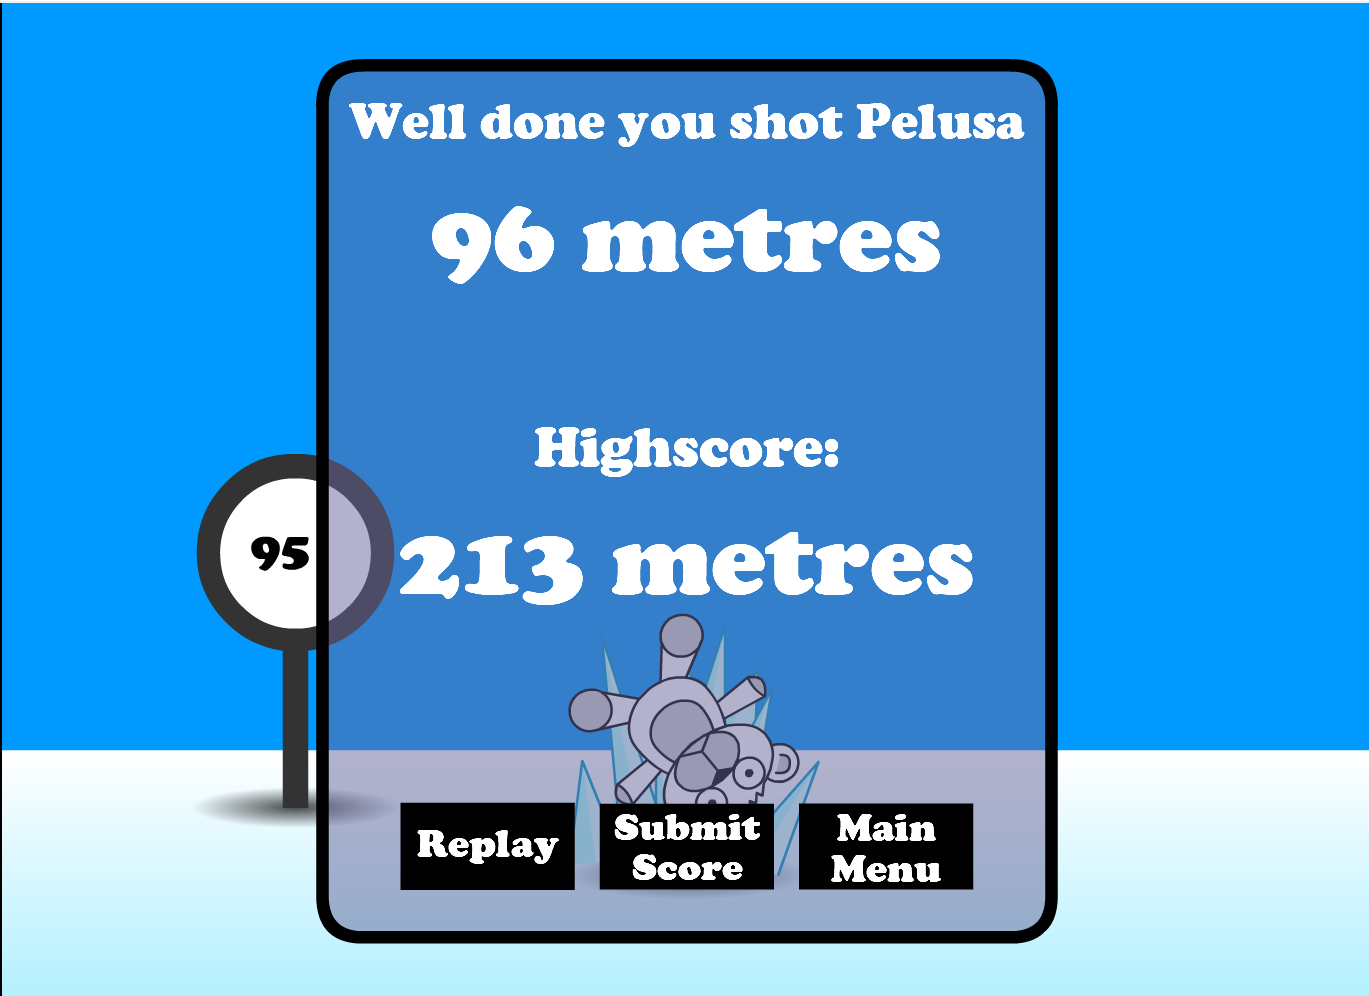
The quality of these is…not astounding, but that’s not really the point. This parking game project is going to be the modern equivalent for me. It’s been a while since I’ve properly tried to make some kind of game. It’ll be a bit of a warmup exercise in making something relatively quickly where I don’t have to re-invent the wheel. I don’t really know where I’m going with this once the basics are there, but that’s sort of the whole idea.
I’m also using this to get used to the Godot game engine, and to get a bit of practice in at developing something before maybe trying something else more meaty. Hopefully in the course of doing this I can write about some useful little topics related to developing games generally or more Godot-specific that might be useful to someone starting out. Or maybe you’ll be trying to do one specific thing that I happen to also have done in the course of this project and I can save you a bit of time.
Either way, enough chit-chat!
Making a car #
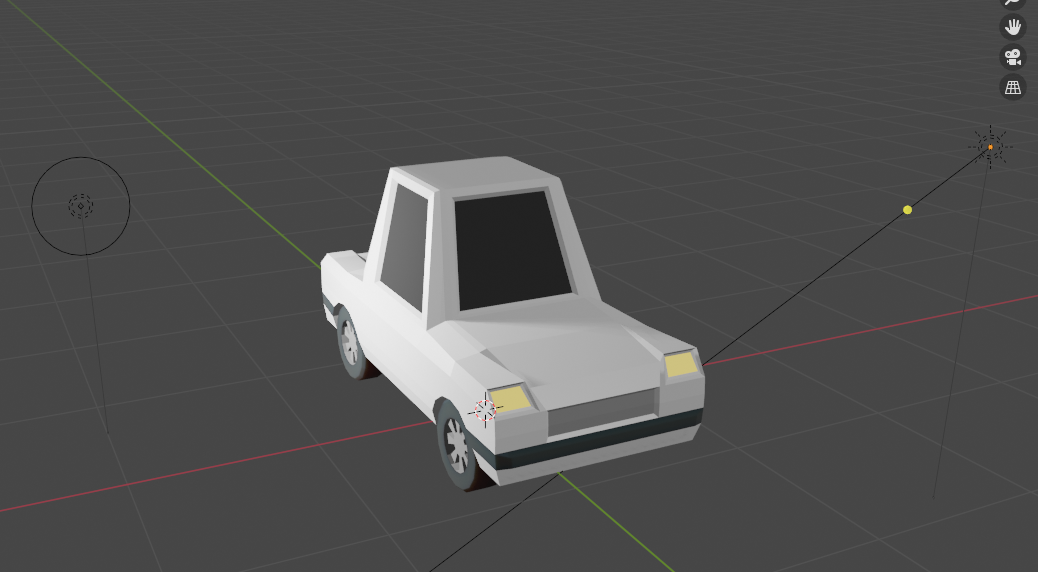
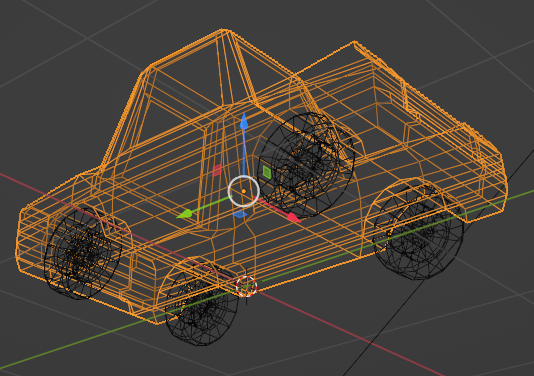
Easiest place to start is with a car to actually park. I’ve made this little car with Blender:
I won’t go into too much detail about actually making it, but I will point out some things about how the scene/model is setup as it matters for making this thing move/display in Godot later.
Meshes #
Each individual component that I want to potentially move individually is a separate Blender mesh:
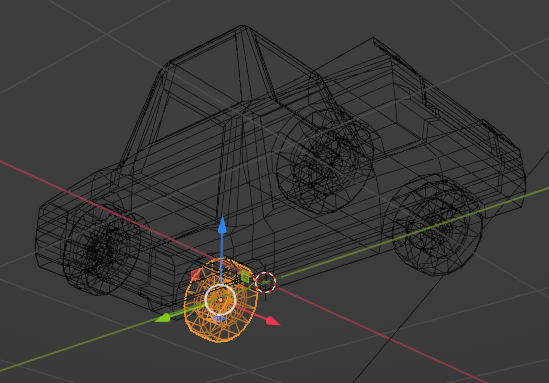
The wheels are all “instances” of the same wheel model. I made one with a mirror modifier for visual aid while modelling, then removed the mirror modifier and duplicated the mesh wholesale and placed it correctly at the four corners of the car. This is not essential, but instancing means I don’t have 4 copies of identical geometry in the exported scene (saves a bit of space, not that this is a large model!).
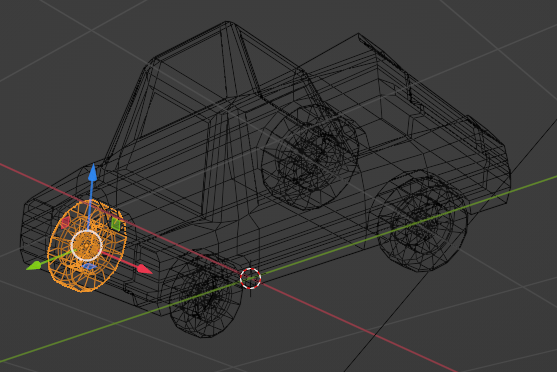
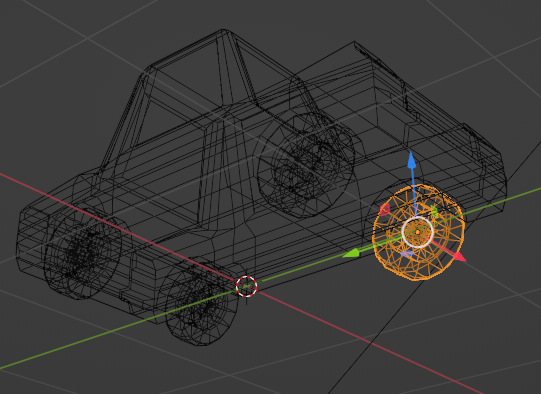
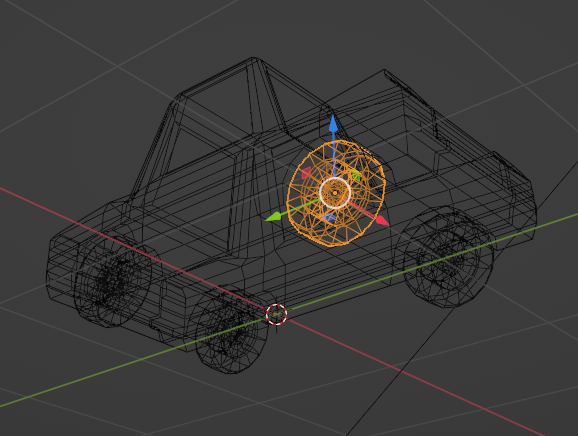
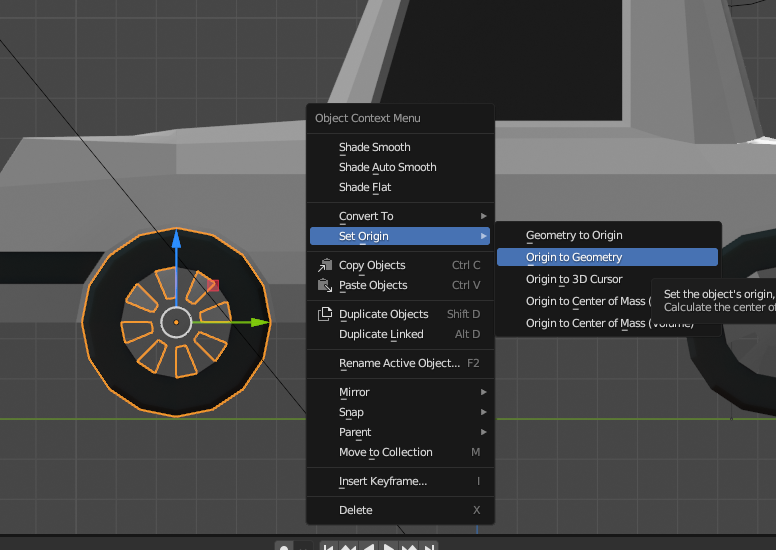
Origins #
The origin of each mesh in Blender is (by default) going to become the origin of each mesh when we import it in Godot. For that reason, the origin is important. Through the process of modelling, the origin of my wheels in particular remained at the center of the car rather than the center of the wheels. This is unhelpful when we want to rotate the wheels in-engine as this is going to be the pivot point that the mesh rotates around in space.
Materials #
I’ve added some materials to the model also. These materials are all very simple, most I’ve even just changed the Base Color and applied some materials to different surfaces in the model. Some I’ve fiddled with Specular, Roughness, and Metallic parameters with the help of some test lighting to give the windows a sheen and the headlights some glow. I’m not actually 100% sure to what extent I’m going to use these materials as they are going forward but it’s a good starting point.
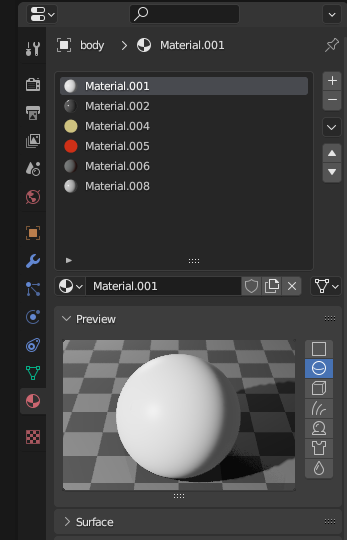
The material in slot 0 in particular has the base body colour (white). This is intentional as it is easy for me to remember, and I want to get some more bang for my buck out of the model by changing the body colour at runtime. We’ll look at doing that in part 2!
Export/Import #
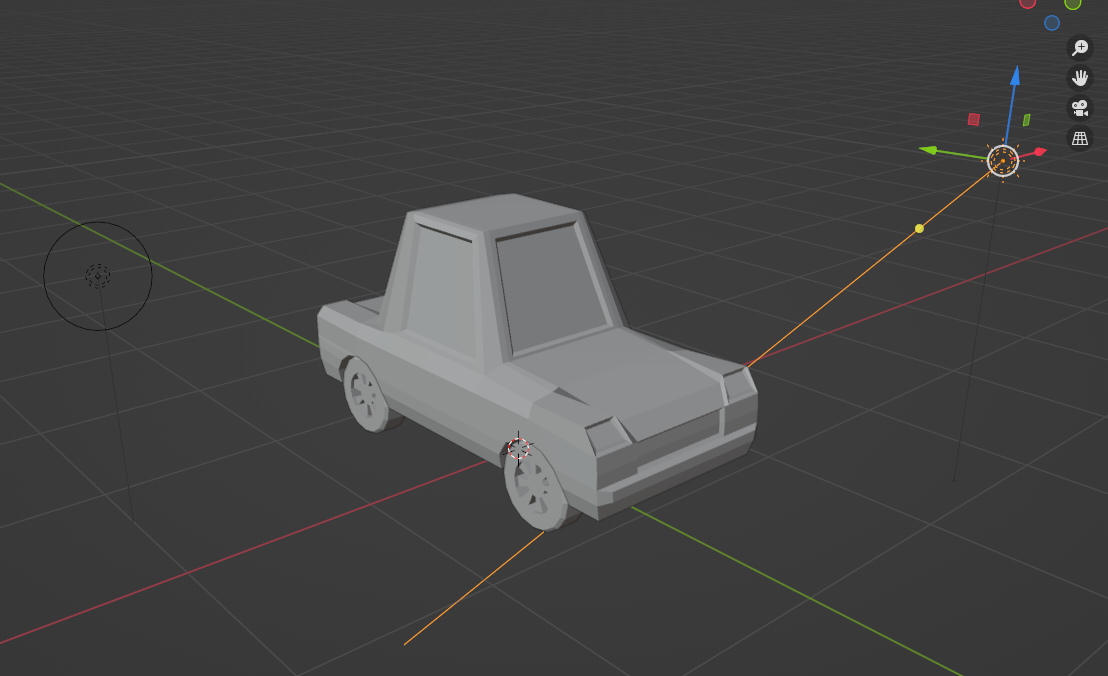
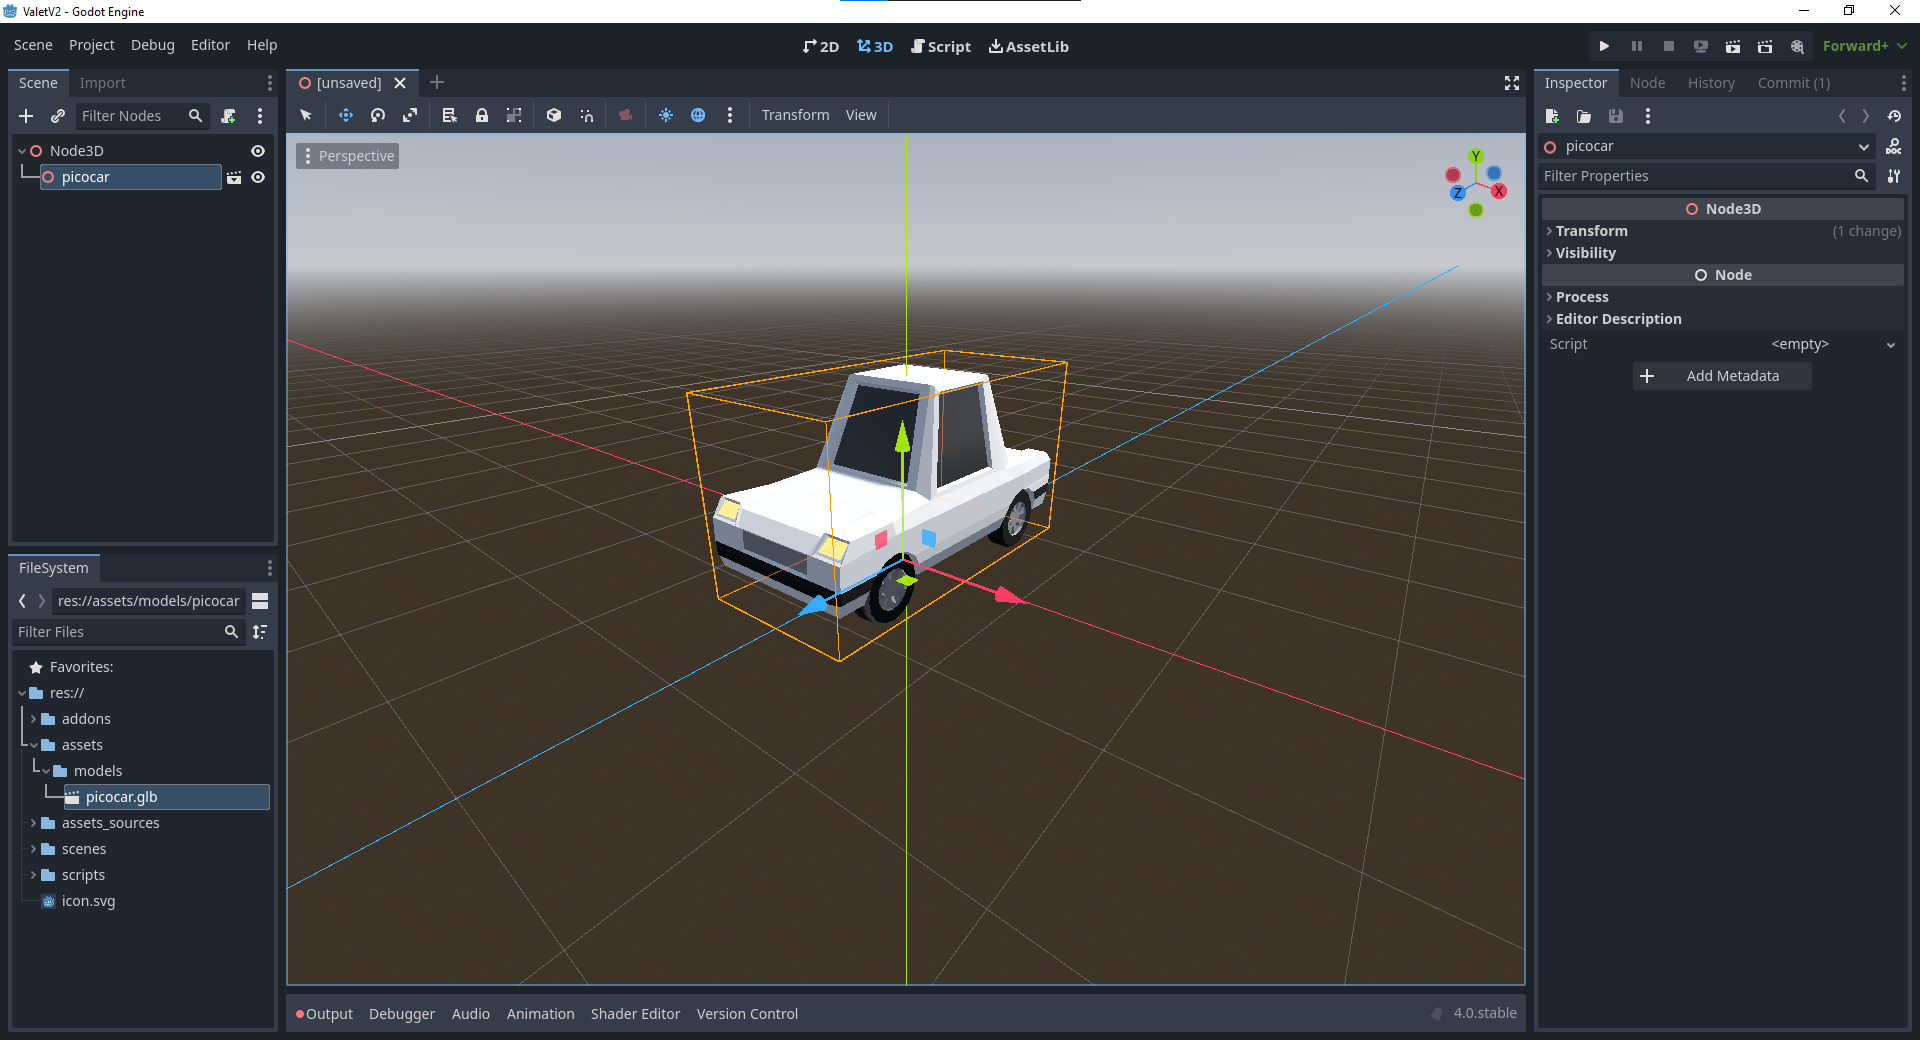
Now I’m finally going to jump into Godot - to bring this model into Godot we need to import the scene from Blender. Godot actually supports directly importing from a .blend file however it recommends using glTF 2.0 files so that’s what I did. I just used default export options.
Let’s finish up this first part by seeing the glorious picocar in Godot itself. This is what it looks like directly imported, it’s translation set to (0,0,0):
Summary #
You can find the code/assets I ended up with for part 1 & 2 of this series on the blog-pt-1-and-2 branch of the repository:
In part 2 I’ll add the basic movement and colour customisation of the car. Thanks for reading!